Photo by Zachary Cross
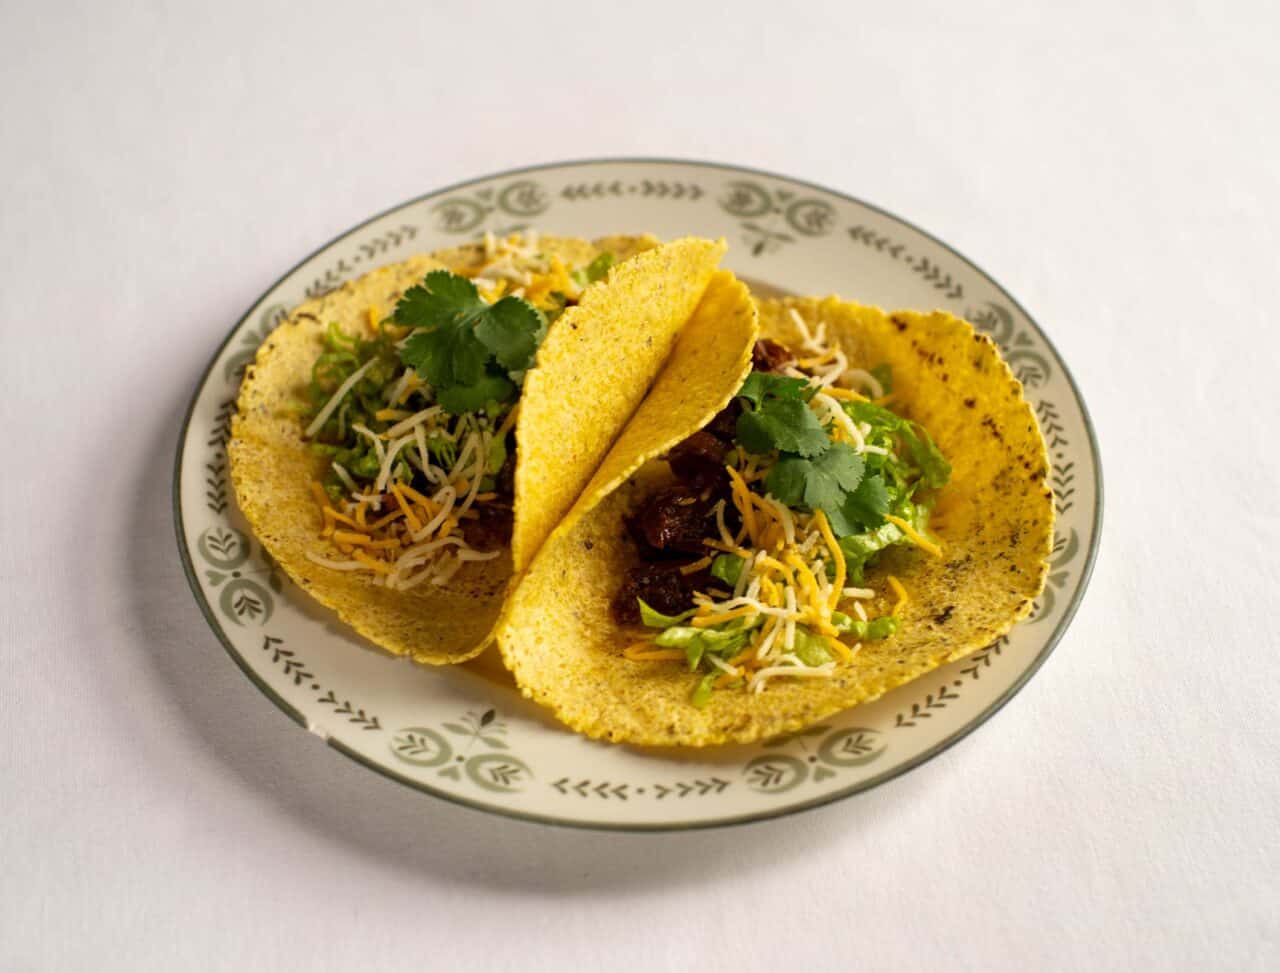
Are you looking for a different way to cook that pork roast you picked up at market? Try some simple carnitas to use in a Mexican-style meal.
I had a Boston butt roast and needed (and wanted!) to use it. I could easily throw it in the crockpot all day and have pulled pork to eat on sandwiches, plain, with barbecue sauce – lots of ways, really. I kept stalling, though, and decided to look into other options. I’m on a Smitten Kitchen kick lately and came across Deb’s post for Homesick Texan Carnitas. She describes how carnitas are traditionally cooked as well as another chef’s option for carnitas seasoned only with salt. Somehow, even though it was more work than using the slow cooker, I was intrigued.
I decided to go with Smitten Kitchen’s directions but use only salt for seasoning (she includes cumin, garlic, and citrus juices). It’s an interesting concept: braise the meat in liquid, then essentially fry the tender pork in its rendered fat. So it comes out not only tender, but also with crunchy and tasty bits (especially with pasture raised pork!). Perfect for tacos, or whatever.
There are a lot of recipes out there for carnitas cooked first whole in the slow cooker, then crisped under the broiler. I found I did not like the larger shreds cripsed up, and felt that the browning process under the broiler was hard to control. Two more good reasons to give a different technique a try.
Boston butt, despite the name, is a cut of pork that comes from the shoulder of the animal. When Googling I found it interchangeable with shoulder, or, just as often, differentiated from shoulder and picnic shoulder by the part of the shoulder it comes from. It’s a tough cut, but one that tenderizes after long, slow cooking. If you’re wondering, the cut that comes from the back upper legs is fresh ham.
Confused? Let your farmers know how you want to cook your meat and they can recommend the right cut.
Making carnitas means cutting the roast into 2-inch chunks. I was wondering how hard that would be and found it quite easy with a sharp chef knife. There was a small bone in my roast and I found it easiest to leave that in a smaller chunk of meat and separate it once tender. I’m terrible at estimating size, so I used a ruler to help me (without worrying about it being perfect). Do it however you are comfortable. Make sure your chunks are large enough to hold together and not too large to finish cooking. Keeping them a consistent size is more important than making them exactly 2 inches square.
Use a large pot for this process. It’s most important not to crowd them once they start frying, but if they’re a little squeezed during braising it’s fine. I braised in one batch and fried in two batches. If I had been pressed for time I could have pulled out a fry pan at that point, but I did other cooking while keeping an eye on the pork.
The finished chunks are bigger than bite size. You can break or shred them when they are done, if you like, or break them into bite-sized chunks as they fry. Fifteen Spatulas has a post with a good explanation and photos of how to cook the pork from start to finish in smaller pieces. However, Food 52’s similar post had so many negative comments about cooking the smaller size I decided to start larger.
I served the carnitas in small portions (they are, as you can imagine, pretty rich!) in tacos and on their own with sides. I want to try carnitas again with traditional spices such as cumin, and make some homemade tortillas as well!
Simple Carnitas
Inspired by Smitten Kitchen, Food 52, and Fifteen Spatulas
3 pounds boneless pork shoulder or pork butt, cut into 2-inch chunks
2 tsp salt
Water
Put the pork chunks in a large pot, cover with water, and sprinkle with salt. Bring the water to a boil, reduce heat and simmer, without stirring, until the meat is tender and most of the water has evaporated, about 90 minutes. At this point adjust your stove’s heat level as seems to make sense to you; some recipes say to increase it, some to decrease it. I played around with it and I don’t remember what worked best. Different pans and different types of fuel likely create the variations. You want to render the fat and crisp the meat, but you don’t want to burn it or get your kitchen smoky. Recipes also disagree at this point about stirring the meat. Some say to stir to brown evenly, some say to continue to leave it alone. I turned the meat carefully so it didn’t fall apart. Handle with care as its pretty tender by now.
Serve in tacos or as a main meat course in small portions.


0 Comments